Helpful guide for setting up your MarketDental emails
Written by Cătălin Alex on Sun, 16 Jan 2011 https://marketdental.com/
Click one of the links below for step-by-step instructions on setting up your MarketDental email accounts in one of the following programs

Please note that this article has been deprecated and will no longer be updated.
Click one of the links below for step-by-step instructions on setting up your MarketDental email accounts in one of the following programs:
Microsoft Windows
» Microsoft Outlook Express
» Microsoft Outlook 2003
Not what you're looking for? Please Contact Us.
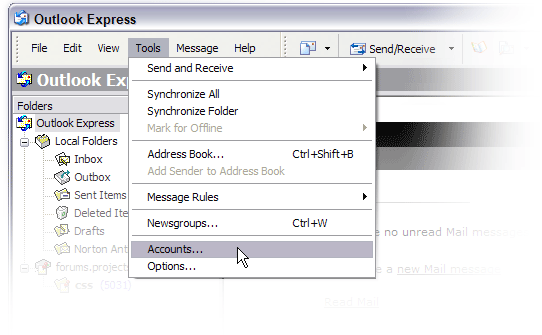
To use Outlook Express for sending and receiving email, follow the steps below.
Step 1: Open the program by clicking the Outlook Express icon located on your computer.
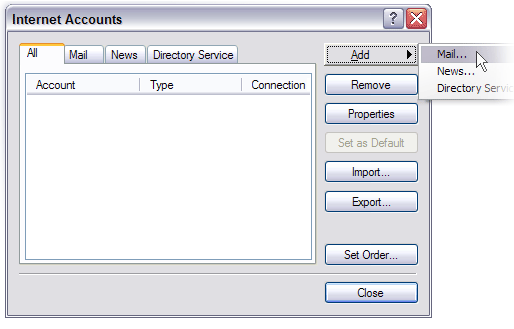
- Incoming mail server (POP3): Enter mail.yourdomain.com
- Outgoing mail server (SMTP): Enter mail.yourdomain.com Port: 26
| Note: Many ISP's (Internet Service Providers) are blocking what is called "SMTP Port 25" which is the port used to send e-mail. These ISPs have chosen to do this to cut down on the amount of "SPAM" mail that is sent. You can check with your ISP to see if they are doing this. If you are using Bell must enter smtp1.sympatico.ca as their Outgoing mail (SMTP) server. If you are using Rogers must enter smtp.broadband.rogers.com as their Outgoing mail (SMTP) server. Then click NEXT. |
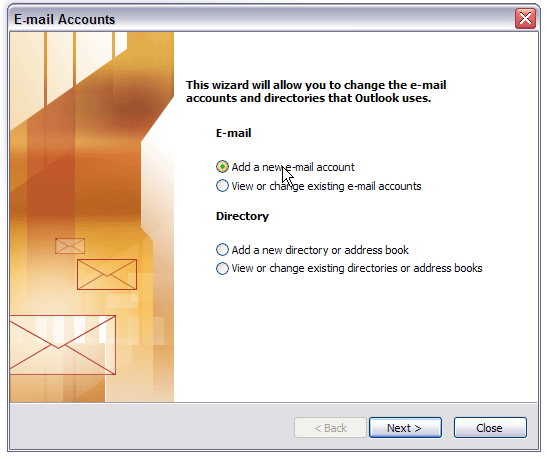
Instructions for setting up email accounts in Microsoft Outlook 2003
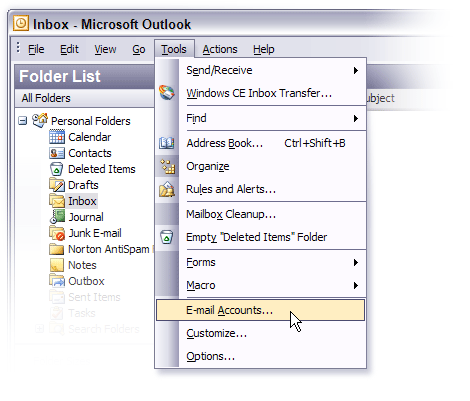
Step 1: Open the program by clicking the Microsoft Outlook 2003 icon located on your computer.

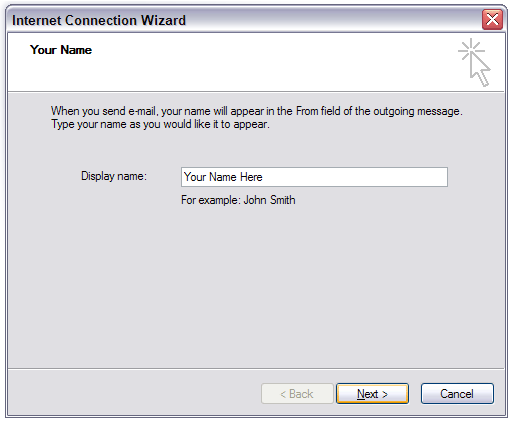
- Your Name: Enter the display name that other people will see when you send them e-mail. It should usually be your real name, such as John Doe.
- E-mail Address: Enter your full email address for this account.
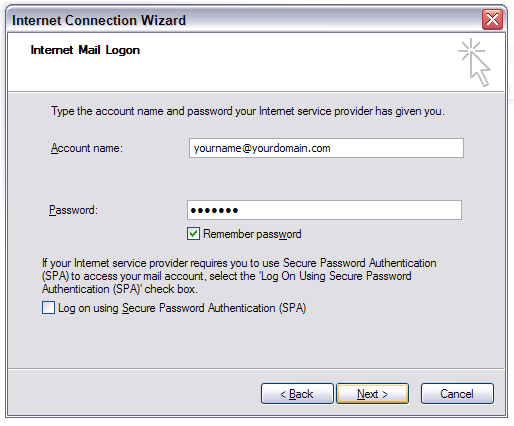
- User Name: Enter your full email address using only lower case letters.
- Password: Enter the password you chose for this email address using only lower case letters. Check REMEMBER PASSWORD if you don't want Outlook to ask you for the password each time you check your e-mail.
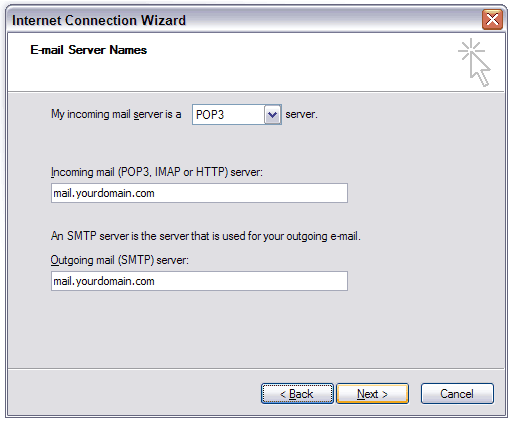
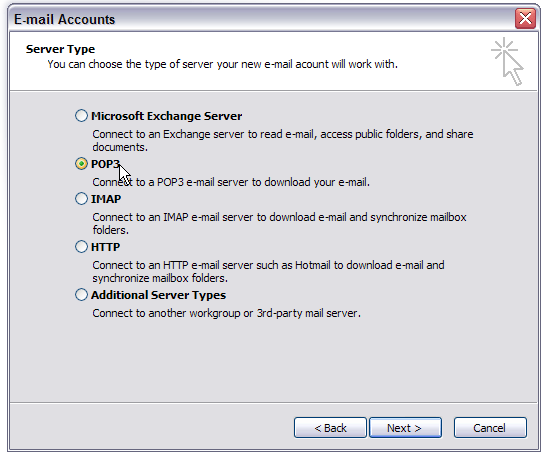
- Incoming mail server (POP3): Enter mail.yourdomain.com
- Outgoing mail server (SMTP): Enter mail.yourdomain.com Port: 26
| Note: Many ISP's (Internet Service Providers) are blocking what is called "SMTP Port 25" which is the port used to send e-mail. These ISPs have chosen to do this to cut down on the amount of "SPAM" mail that is sent. You can check with your ISP to see if they are doing this. If you are using Bell must enter smtp1.sympatico.ca as their Outgoing mail (SMTP) server. If you are using Rogers must enter smtp.broadband.rogers.com as their Outgoing mail (SMTP) server. |
- Make sure that Log on using Secure Password Authentication (SPA) is not checked.
- Click Test Account Settings to confirm the settings are accurate.
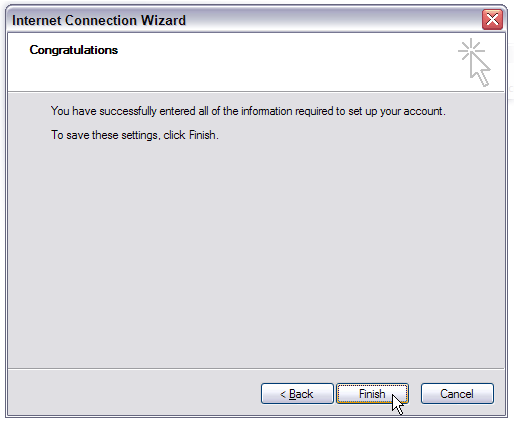
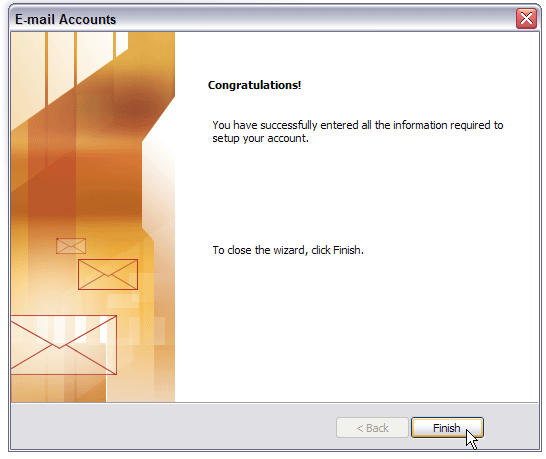
- Click Next when finished with this step.

Written by
Cătălin Alex
on
Canadian dental marketing author at MarketDental
Dental marketing focused on clinic growth, patient acquisition, and SEO for dentists across North America.
Canadian
Dental Marketing, Digital Marketing, Web Design
North America
dental website, dental marketing, dental SEO
Send secure documents.
News & Events
- What Dentists Should Expect from Marketing Companies in 2026
- Dental Practice Marketing: Ideas and Tips to Grow Your Practice
- Dental SEO in 2026: The Strategies That Actually Book Appointments
- Your Dental Website Is Either Working For You or Against You
- The April 15th CDCP Cliff: How to Protect Your Schedule (and Your Patients)
- MarketDental App Instalation Guide
- Marketing Insights. Decode the Clicks.
- Introducing Cloud Platform
- How Patients Search for a Dentist Online?
- Can Dentists Advertise Botox on Google Ads?
- Dental Marketing Strategies to Implement in 2025
- Are Google Reviews Vanishing? Here's What You Should Know
- New Accessibility Widget for our Dental Websites
- Google AI is now included in Google Workspace subscriptions
- We're giving $450 in free social media posts credit
- How to Set Up Email on Thunderbird
- Navigating Google's Advertising Policies for Botox Services in Canada
- Adding Admin to Facebook Page & Integrating Instagram in Business Manager
- The Power of a Friendly Image in Dental Marketing
- Join Us at NWDE 2023
- SignForms Process
- Update Regarding SignForms Integration
- Important: Google Workspace price increase
- Google Maps Varying Results
- How to invite MarketDental to access your GoDaddy account?
- Happy Holidays as we look back on 2022
- How to attract new dental patients?
- New Website for New Edinburgh Dental
- SKY Dental Launches New Website
- The difference between SEO & SEM